Never in our lifetime have we had to live through a global pandemic such as Covid-19 which we are all presently enduring. Such a tragedy has affected all of our lives to a greater or lesser extent. I myself, apart from several days of feeling unwell at the start of the UK lockdown period, have remained positive and tried to keep busy when not working. I have done more gardening, some DIY projects, made a couple of Airfix aircraft models, started film processing and printing again and started this blog about photography.
I thought I would take a series of black and white photographs to document a snapshot of what life has been like in recent weeks. I have called it "More or Less" as not only have there been many negative impacts felt but also positive ones as a result of this dramatic change to all of our daily lives.
All images were shot using an Olympus OM2n camera with either 24mm, 35mm or 50mm lenses and Ilford FP4 Plus film, developed in Ilfosol developer. I have photographed the negatives using a Nikon digital camera with macro lens on the copy stand as described in my previous blog. All images were converted to positives and post-processed in Lightroom 6.
More time to reflect
More respect for people in professions who are making a difference
More businesses for sale
Less businesses currently trading ( but more hair !! )
More queuing outside supermarkets
More time spent on hobbies
More toilet rolls ( after there were less )
More people jogging and less cars on the road
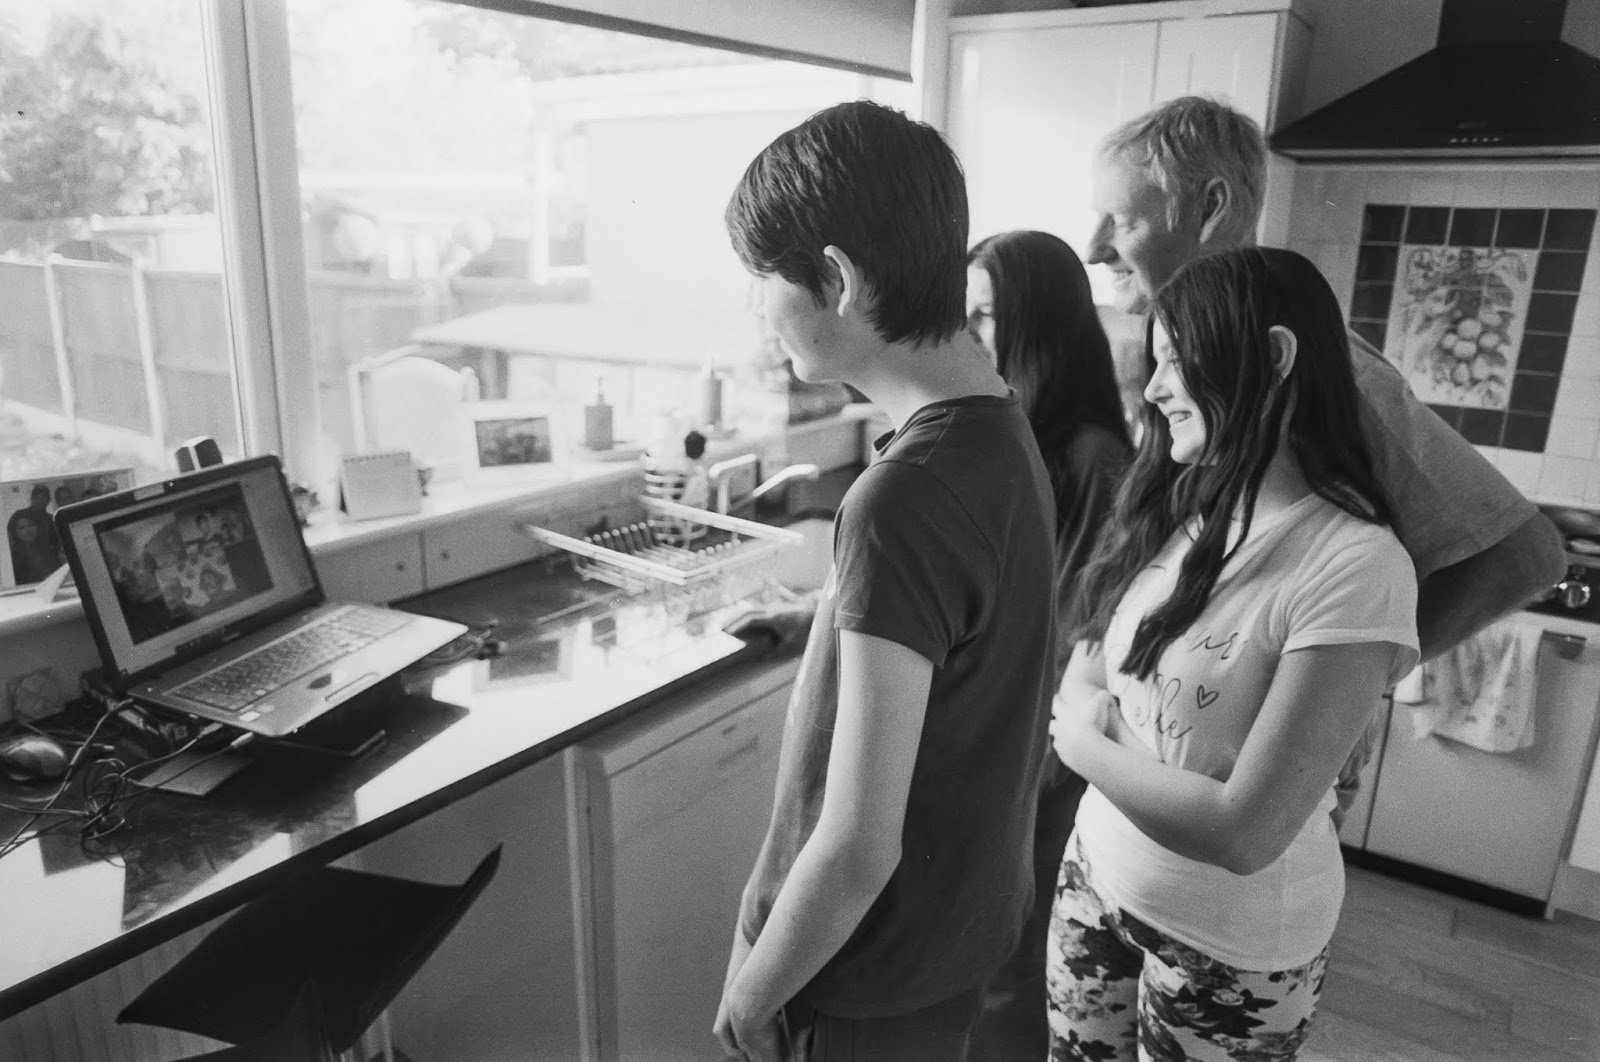
Less human contact with family and friends but more virtual meetings
More personal protective equipment now available ( for some )
Less cars being sold
Less retail business on a Saturday ( and every ) afternoon
More social distancing and less meaningful contact with people you love
As mentioned previously I have rediscovered my interest in film photography. I last used film regularly about sixteen years ago and so since then have taken thousands upon thousands of digital images, both professionally but also recording family life and events, holidays etc. Most of those images are stored on a separate hard disc drive and catalogued in years and subfolders within each year.
However, I also have countless numbers of negatives in files and elsewhere. I have sporadically scanned negatives in the past with my Nikon Super Coolscan 8000ED, a fantastic piece of kit which scans to a really high standard. Unfortunately at the beginning of this lockdown period a few weeks ago I came to use it and I was unable to load the Nikon Scan software which basically controls the scanner. This was frustrating as I had just processed my first black and white film for many years and wanted to see the results on the computer in order to include them in my last blog post. After several hours trying I just couldn't get it working and so eventually after searching the internet I found another way of digitising my film negatives. It involved taking a digital photograph of a negative and processing that image using software. There are different ways you can go about this, here's how I did it......
I had a spare LPL 7700 enlarger. I was able to remove the enlarger head and screw on to the remaining carriage an old Manfrotto tripod head. This makes a perfect copy stand. I use a negative lightbox on which the negative is placed, preferably in a negative carrier to make sure it is sitting flat. As long as the camera, screwed into the old tripod head, is horizontal and on the same plane as the negative below it then it will fit nicely into the camera frame. I use the grid on the camera screen to also make this easier. For the best results it's necessary to get as close to the negative as possible and so a macro lens is important. The white balance WB on the camera is set to 2500K and the ISO is set to the lowest, in my case that is 200. My exposure is 1/30th second at f11 but this will vary according to the light source. There are many flat LED lightboxes available, mine is an older traditional lightbox. I also use a shutter release so I'm not having to touch the camera. I have 35mm and medium format negatives, 6 x 6 and also 6 x 4.5. For that reason I have marked on the vertical stand the correct position for each negative format.
The digital imaging software I use is Adobe Lightroom 6. For black and white negatives after importing into Lightroom it is possible to convert it to a positive image by using the curves in the opposite way in which they appear. There is plenty of information on the internet that shows you how to do this.
For colour negatives it is considerably more difficult to achieve a good result with Lightroom alone. This is where Negative Lab Pro comes in. It was developed by Nate Johnson in the States and can only be used in conjunction with Lightroom 6 and Lightroom CC. It is a downloadable plugin which enables you to carry out colour negative conversion. The website gives full details on how to download it and the steps needed to achieve superb quality results, the link is below. There is a free trial available which lets you use it with twelve negatives and then after that is costs $99 plus VAT. I think it is a brilliant piece of software and I have been having a lot of enjoyment this week going through and scanning old negatives I have had stored away for years. I have only had it a few days and I have been concentrating on aircraft negatives taken during my time as an RAF Photographer. There are images I just haven't seen before, it has been really thrilling discovering these old photographs and jogging memories of the time and place they were taken. This will be an ongoing project and one that will certainly keep me occupied during this period of social-distancing.
I finally got round to printing yesterday. I've been off work for two weeks which has obviously coincided with myself and my family self-isolating at home - in many ways a perfect opportunity to start printing again. After processing my first black and white film last week, I had been looking forward to printing negatives for the first time in over sixteen years.
It's funny, printing in a darkroom was once second nature to me. The process still feels familiar but putting everything into practise, it all felt a bit rusty. I had acquired the Fujimoto enlarger from work after their darkroom had became redundant and so I had to give myself a crash course in using that, combined with the Paterson timer. After mixing up the chemicals and deciding to print on 7 x 5 Ilford MGD Multigrade resin coated paper, I did my first test strip. The negatives seemed to be a bit flat, I think possibly there was a bit of fogging of the film when I was loading it in the developing tank....I will need to investigate further. Anyway, it was necessary to add more magenta in order to increase the contrast and I also had to increase the development time due to a decrease in temperature of the developer. As mentioned previously I have set up the darkroom in the garage and as it was a bright afternoon a small amount of light was coming through a small gap in the door, so that had to be sorted before I could carry on.
My teenage daughter came and gave me a hand after I asked if she wanted to see what I used to do in my other life. I'll never forget that magical feeling when I was about her age and seeing for the first time with my Dad an image appear on a piece of paper submerged in print developer. I showed her the different techniques from start to finish, including how to dodge and burn and she enjoyed the demonstration. She also had a go herself and it felt satisfying sharing my knowledge with her this way. Her generation will never have experienced anything other than instant digital images and the mass sharing of countless pictures across the many types of social media.
The negatives I printed were taken last year during a trip to London. We visited Borough Market which had been the scene of the terrorist attack in June 2017. When we visited two years later everything was back to normal and the market was bustling with people browsing the many speciality food stalls. Like many areas of London it had a very international feel to it and it reminded me of other countries I have visited and the kind of photography I used to enjoy doing.
Unfortunately my Nikon Coolscan negative scanner isn't working at the moment, so i have had to scan the prints directly on my printer scanner. The quality isn't the best by any means but I'm quite happy with the original prints, especially considering it's my first attempt for a long, long time. As my teachers at school used to say, there's always room for improvement.
When I say processed my first film, what I really meant is that I have just processed my first film for a very long time. As mentioned in my previous post, I haven't used 35mm for over fifteen years. I put a roll of Ilford HP5 Plus in my Olympus OM4ti last year and took a series of photographs during a trip to London, especially around the bustling Borough Market. I also took the camera with me on a recent trip to Cambridge and this morning took the last half dozen frames in and around my home. This is due to the family self-isolating as a result of having a high temperature over the weekend.
In fact I see this period of self-isolation as a good opportunity to rediscover my love for film. I bought the chemicals from Ilford, namely Ilfosol 3 film developer, PQ Universal print developer, Ilfostop and Rapid Fixer. The last two, the stop and the fixer, can be used for both film processing and printing. Currently you can purchase an Ilford Paterson film processing starter kit with chemicals, developing tank etc, for further info contact : sales@patersonphotographic.co.uk
When I was in the RAF we mainly used black and white, predominantly 120 roll film but also 35mm. These were all processed in Paterson dev tanks, exactly the same as the one I used today. I used to process and print several rolls of film every day, it was second nature to me. I acquainted myself with the tank and the spiral and went over in my head the correct procedure. Not feeling 100% confident I checked online and watched a very good video from Ilford Photo - I will post the link below - I turned the light off and started to pull the end of the film onto the spiral. After a bit of fumbling I managed to feed it through and it all felt very familiar.
I prepared the chemicals, with temperatures as close to 20°C as possible. The development time for HP5 using Ilfosol 3 1:9 (30 ml to 270 ml water) is six and half minutes, with agitation for ten seconds every minute. The Ilfostop stop bath 1:14 (15 ml stop to 285 ml water) is agitated for about twenty seconds and the Rapid Fixer 1:4 (60 ml to 240 ml water) for approximately five minutes.
I nervously pulled the spiral out of the tank to check there were images on the film. Success. I will never forget that sinking feeling many, many years ago when I was processing a couple of films in the Air Force. I can't remember the actual film job, the memory must have been too painful...I took the film off the spirals and two films of 36 exposure totally blank, no edging numbers, nothing but clear acetate. It dawned on me that I had mixed the chemicals up and so fixed the films first, then used the stop bath and finally the developer. Thankfully no such disaster today and I was very relieved to see images.
I hung the film up to dry, put the kettle on and sat down and had a cup of tea. With the next two weeks at home, I look forward to the printing stage and also maybe using my Nikon Super Coolscan 8000ED for scanning the negatives onto the computer. We may be living in uncertain times at the moment and for the foreseeable future but there was something extremely gratifying to go back to something which played an important role in my life a long time ago.
Another useful introduction video about processing film from Ilford Photo :
When I was about 15 years old, my Dad got me interested in photography. We had a toilet under the stairs and we set up a little darkroom in there. The trays were precariously positioned on a board across the toilet and you used to have to kneel down in front of the developer, stop and fixer trays to process the paper. I still can't remember where the enlarger would have gone, presumably on the board. Not ideal by any standards but it was a start. I was hooked. Later, we set up in the spare room, much better with considerably more room and also we could both go in there at the same time !
A few years later when I was 21 I joined the RAF as a Photographer and did my training at the Joint School of Photography at RAF Cosford. Here I was trained in many aspects of photography, including developing and printing and where I had access to the very best in facilities. A far cry from the balancing act in our downstairs loo.
After I left the RAF and when I bought my first house, I set up a darkroom in my spare room. I even had a plumber friend of mine install hot and cold water into a large industrial sink which had been removed from a steel works in Rotherham. I would print my 35mm and medium format negatives taken on my travels right through the night sometimes, unaware of the time sometimes.
After the birth of our first child the darkroom became the nursery and the developer trays in the large sink were replaced by a baby bath....ideal for bath time. This was about sixteen years ago and coincided with me buying my first digital camera, again perfect for the hundreds upon hundreds of images taken of our young daughter and later on my son who was born two years later.
Recently I got thinking about negatives and printing again. Although I had sold my Mamiya 645 camera, I had still kept by Olympus OM1n and OM2n, in addition to acquiring an OM4ti. I had also kept all my darkroom equipment, kept in storage in my parents basement. So, much to their relief I have dug it all out and set up a darkroom in my garage. Although not quite as well equipped as the spare room in my old house, it is perfectly adequate. There is no hot water in there so I have made a print washer out of a large plastic storage box and plastic piping and this then connects to the shower in the bathroom. I like to print on fibre based paper so a continuous water replenishment is needed.
I haven't yet finished the roll of Ilford FP4 Plus film currently in the OM4ti. When I do I will process it, mix up a batch of developer and resume a hobby of mine which I never thought I would ever go back to. I can't wait......
Here's the first video of a very informative new series on darkroom printing from Ilford Photo :